Install guide · DIY
What Is the Easiest Mini Split to Install? DIY Install Comparisons
If you've decided you want the easiest-to-install mini split system, here's what to know before you spend a dime.
Why it wins
Why Zone Air Wins.
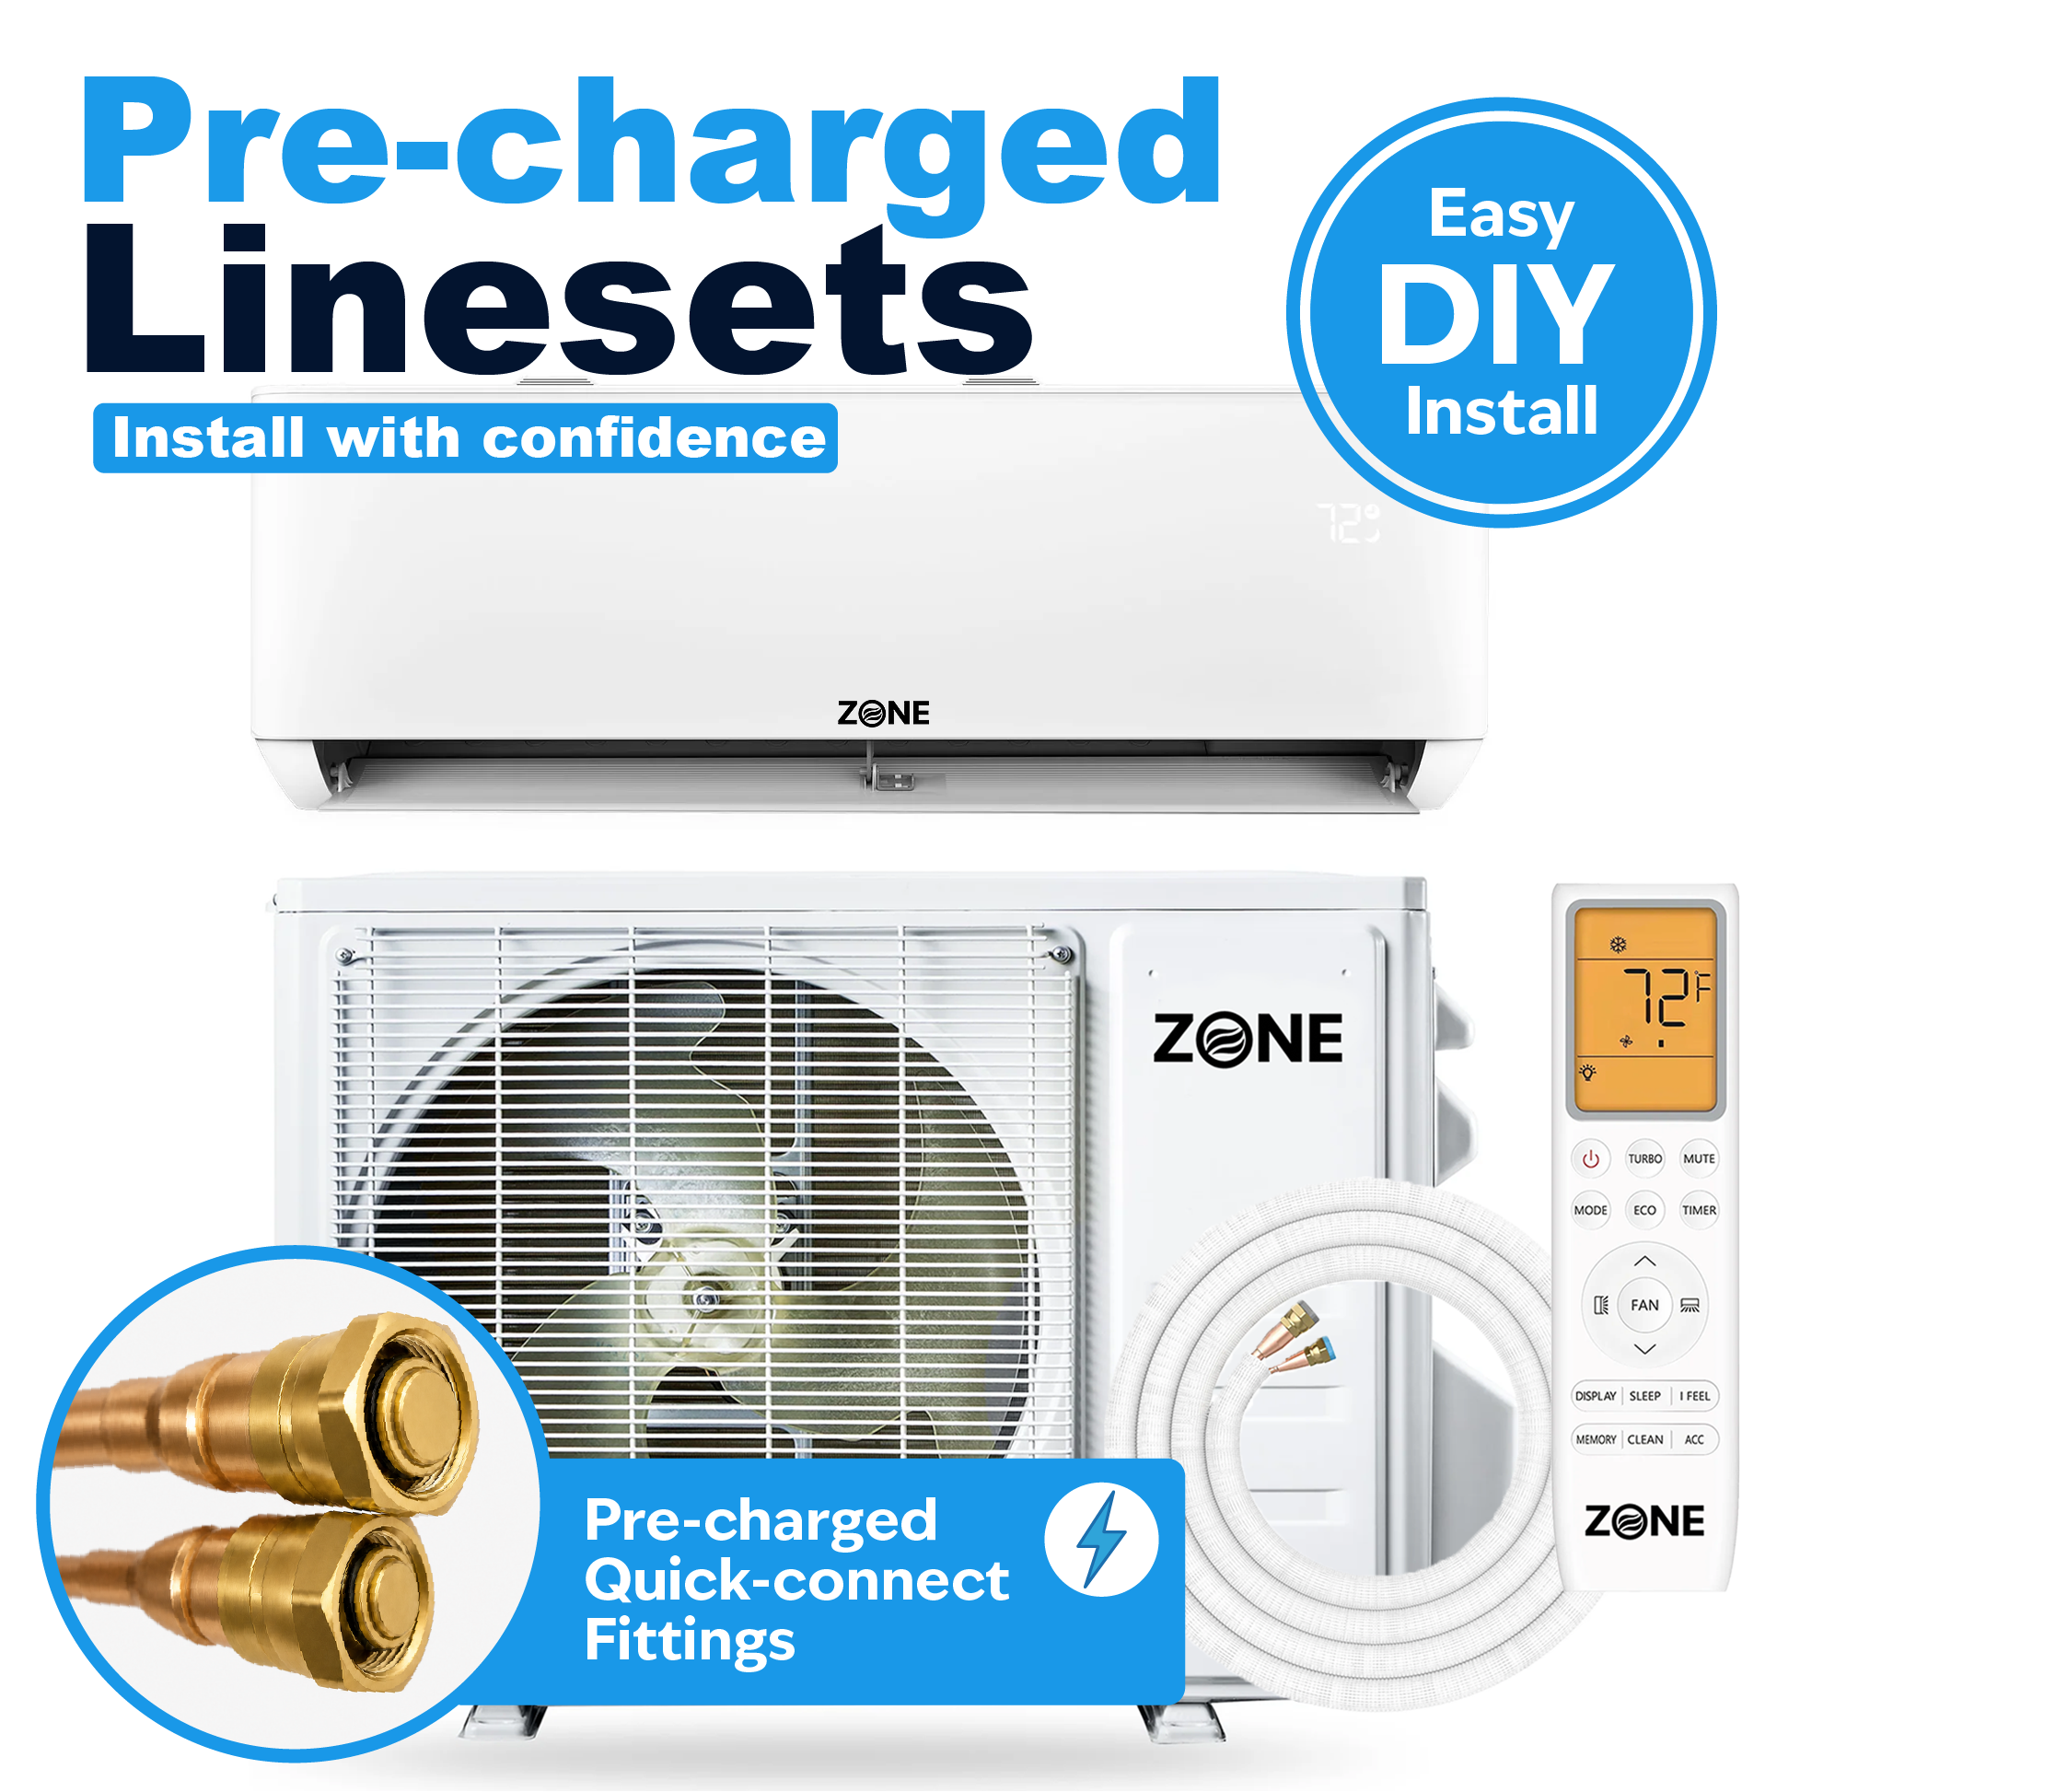
Zone Air systems come with factory pre-charged line sets and quick-connect fittings. Zone Air DIY systems eliminate the need for a vacuum pump, refrigerant gauges, and HVAC license. These ductless systems do not require expensive ductwork, which means installation can be completed in hours rather than days. DIY mini split system installation can save $3,000–$5,000 compared to professional install.
The basics
What Makes a Mini Split “Easy” to DIY Install?
Not every mini split is made for DIY install — only two companies currently make and sell these units at scale: Zone Air and MrCool. Normal mini split systems require a licensed HVAC technician to braze or flare line sets, pull a vacuum, and release refrigerant into the system, which without an EPA Section 608 certification is illegal.
Simplicity in installation is a key factor for DIY mini split systems. Here's what makes these units “easy”:
- Factory pre-charged line sets — sealed, prefilled with R-454B refrigerant, no gauges or vacuum pump required
- Quick-connect fittings with built-in valves that reduce leak risk
- Electrical hookup labeling and guides — requirements for mini-splits can vary by system voltage (115V for smaller units, 230V for larger)
Brands like Senville and Pioneer offer pre-charged systems, but they do not come with pre-charged line sets and are therefore not truly DIY. However, Zone Air DIY and MrCool DIY systems are designed for amateur installation and can be installed in just a few hours with no specialized tools.
Zones
Single-Zone vs Multi-Zone: Which Is Easier for DIY Install?
A single-zone system is typically easier. It pairs one outdoor condenser with one indoor unit. This is ideal for a single room like a garage, bedroom, workshop, or addition.
A multi-zone system connects multiple indoor units to one outdoor unit.
Why single-zone is easiest
- Fewer connections: one pre-charged line set, one condensate drain
- Smaller electrical load, simpler wiring
- Less planning for line routing
When to consider multi-zone
- You need temperature control across multiple rooms from one central unit
- Multi-zone systems allow individual temperature control for each room
- Ductless systems provide room-by-room temperature control throughout a house
- Multi-zone systems improve overall energy efficiency in homes
First-time DIYers should start with a single-zone for a shop, office, or bonus room before tackling a multi-zone project.
Sizing
Sizing Options by Room Size.
Proper sizing of mini splits improves energy efficiency. Here are rough ranges for standard 8 ft ceilings in moderate climates — use this mini split sizing calculator for a more precise answer.
| BTU Output | Room Size | Best For |
|---|---|---|
| 9,000 BTU (3/4 ton) | Up to ~350 sq ft | Bedrooms, offices, workshops |
| 12,000 BTU (1 ton) | ~350–550 sq ft | Studios, medium rooms |
| 18,000 BTU | ~550–800 sq ft | Large living rooms, basements, garages |
| 24,000 BTU | ~800–1,100 sq ft | Open-plan spaces |
| 36,000 BTU multi-zone | Multiple rooms | 2–4 indoor heads, whole-house plan |
Walkthrough
Step-by-Step: What a Typical DIY Mini Split Install Looks Like.
- 01
Planning
Choose your indoor unit location, confirm wall type, check for studs and wires, verify breaker panel capacity and correct circuit size.
- 02
Mount the interior unit
Attach the wall bracket, drill the pass-through holes, route line set, drain hose, and cable through the wall.
- 03
Place the outdoor condenser
Use a pre-made pad, ensure adequate clearance from the window and other obstructions, and protect the unit from snow and wind.
- 04
Connect pre-charged line sets
Carefully bend lines (never kink), attach fittings to indoor and outdoor service ports, torque to spec, then open valves to release factory refrigerant.
- 05
Electrical
Run a dedicated circuit if required, connect power to the outdoor unit and communication cable between units. If you need panel work or a new circuit wired to the breaker, hire a licensed electrician.
- 06
Startup
Power on, run in cool and heat modes, check for leaks and abnormal noises, connect WiFi.
Always shut off power at the breaker before any electrical work and follow instructions exactly.
Next step
Get the size right for your ZIP.
If you're interested in pre-purchase sizing help or have install questions, run our calculator with your ZIP, your existing system, and the unit you're considering — it pulls climate and current electricity-rate data to show annual operating cost, savings, and simple payback.
Run the numbers for your home→